Help
The Android app works almost the same as the iPhone app (the screenshots are from iPhone). Where Android differs, it’s described under “Android”.
The basics
Write a note
iPhone
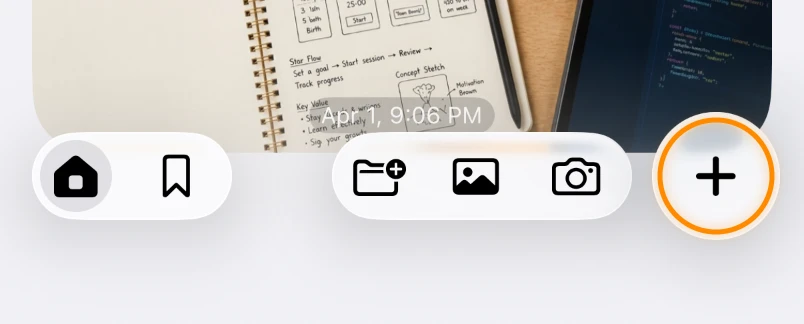
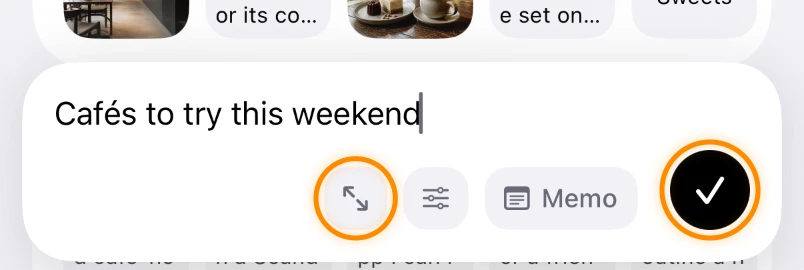
Tap the “+” at the bottom right to open the input field at the bottom. Write your note and tap ✓ to save. The field clears after saving, so you can go straight on to the next note (notes with only blank space can’t be saved).
Tap ↗ in the input field to write full screen. There, tap the destination shown at the top (such as “Home”) to choose the folder to save into.
If you close it halfway, your text is kept as a draft and the “+” shows a dot.
Mac
Click the “+” at the bottom right or press ⌘N to open the input field. Click ✓ or press ⌘Return to save; the field then closes.
Use “Save destination” in the input field to choose the folder (it starts with the folder you have open).
If you close it with Esc or by clicking outside, your text is kept as a draft.

Make a to-do
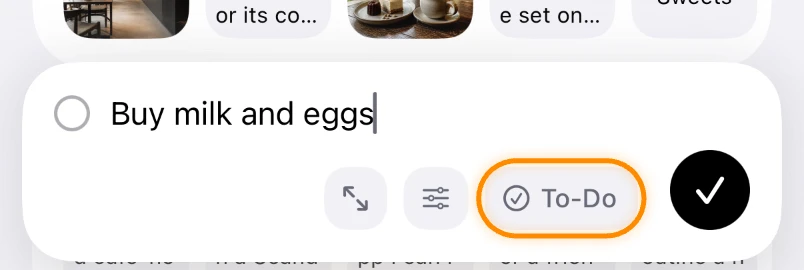
Switch the “Memo” button in the input field to “To-Do” before you write, and it’s saved as a to-do. To turn an existing note into a to-do, open it and use the switch at the bottom left on iPhone, or “To-Do” in the View menu (⇧⌘L) on Mac.
Tap (or click, on Mac) the circle on the left to complete it; it disappears from the list after about 3 seconds. Press it again within that time to undo.
Completed to-dos stay in the “Done” tab of “To-Do” in the sidebar. The trash button at the top right moves them all to Deleted at once.
Give a note a title
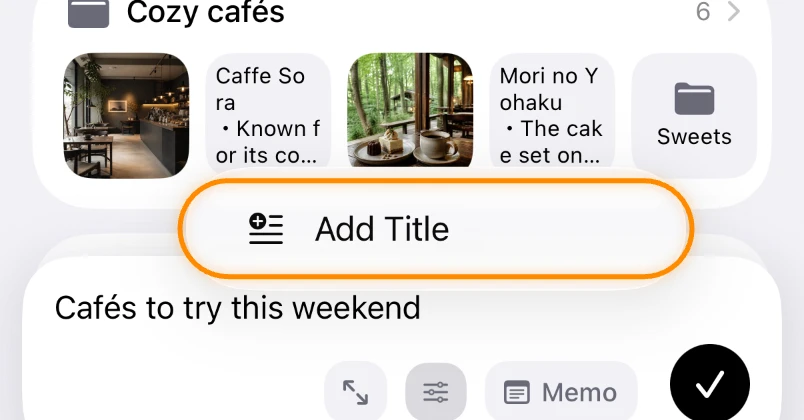
Choose “Add Title” from ⚙ in the input field, or from ⋯ at the top right of an open note.
Add photos and images
iPhone
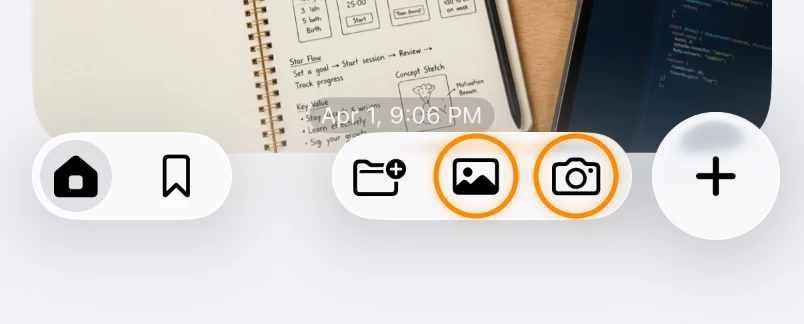
Use the buttons to the left of the “+”. The camera button takes a photo on the spot; the photos button picks from your library (select as many as you like at once).
To turn a copied image or text into a note, long-press an empty spot in the list and choose “Paste”.
Open an image to add a caption. Captions are included in search.
Mac
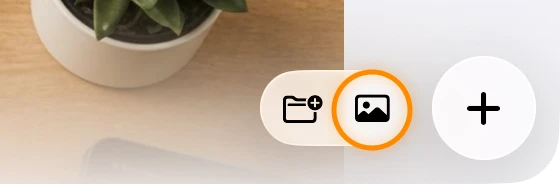
Click “Import Image” to the left of the “+” and choose files (you can pick several), or drag images from Finder onto the list. You can also paste with ⌘V (pasting text creates a text note).
Supported formats include JPEG, PNG, HEIC, GIF, TIFF, and WebP. The Mac app has no camera capture.
Open an image to add a caption. Captions are included in search.
Read and edit notes
iPhone
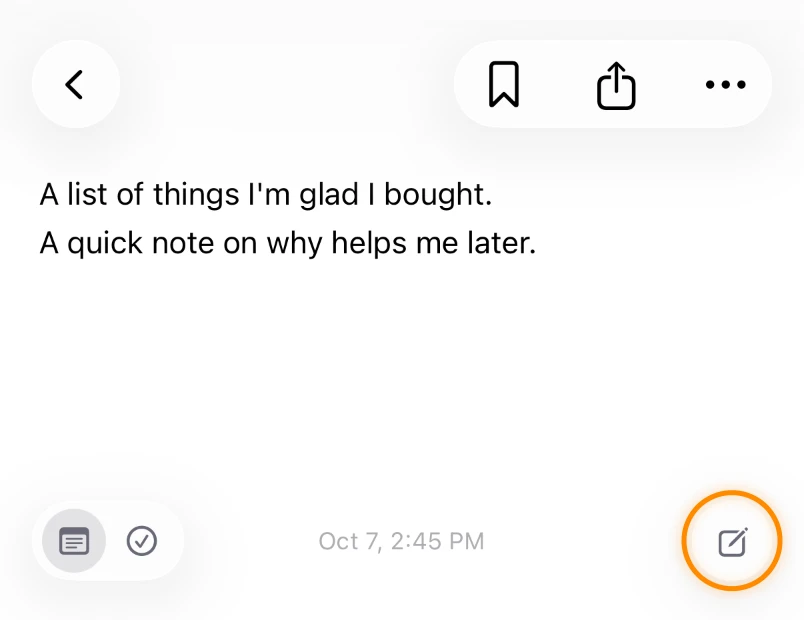
Tap a note to open it. It opens for reading first; long-press to select text and copy it.
To edit, tap the edit button (the pencil icon) at the bottom right. Tap ✓ above the keyboard to save.
In the list, notes longer than 10 lines show “Read more” so you can expand them in place.
Mac
Click a note to open it; you can edit the text right away, and it saves automatically.
To go back to the list, use the back button at the top left, press ⌘[, or swipe sideways with two fingers on the trackpad.
Long notes in the list expand with “Read more”, just like on iPhone.
Look back by date
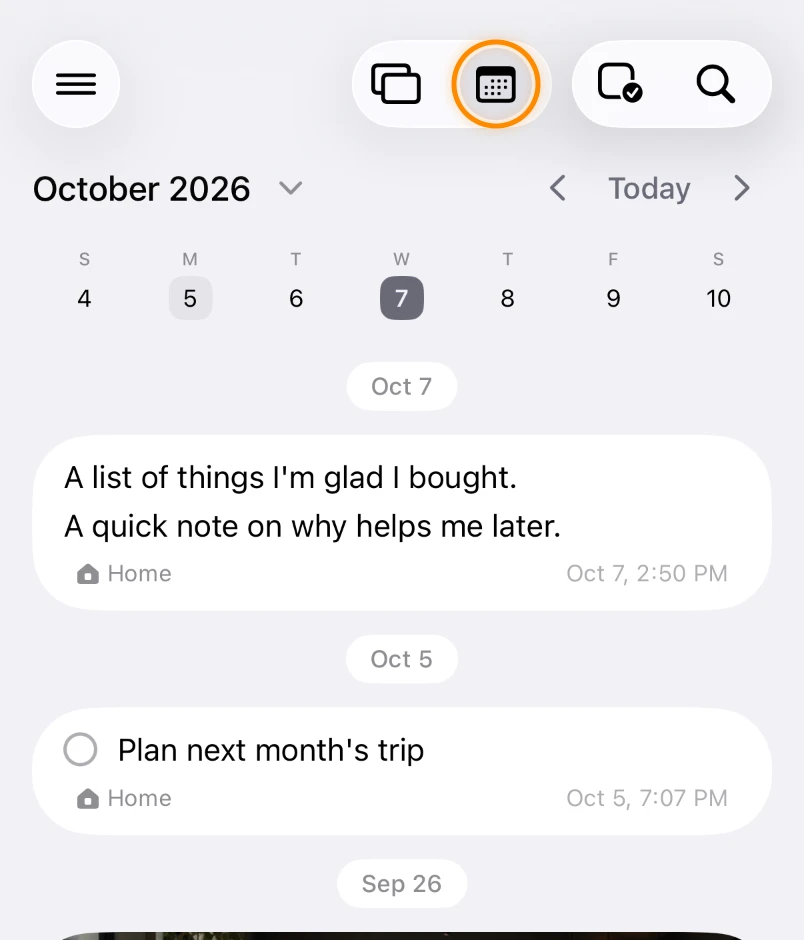
Switch from the list to the calendar view with the toggle at the top to look back at notes by the day you made them. On iPhone you can switch between “Week” and “Month”.
Copy or share a note
iPhone
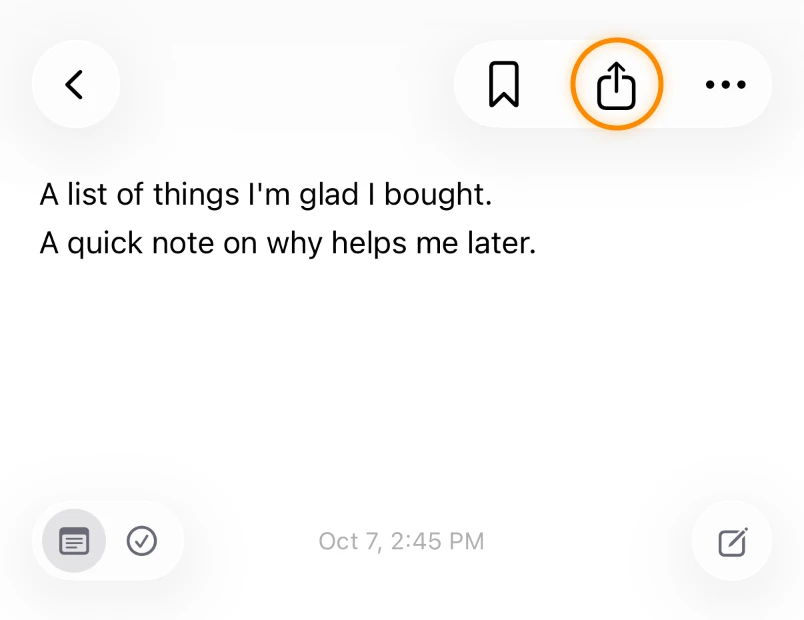
Use the share button at the top right of an open note to send it to another app. For images, choose “Save Image” on the share sheet to save them to Photos.
In the list, swipe a card left to reveal “Copy”.

Mac
Use the share button at the top right of an open note, or “Copy” under ⋯. In the list, right-click a card or swipe left with two fingers to reveal “Copy”.
Organizing
Group notes into a folder
iPhone
Long-press a note to pick it up, hold it over another note for a moment, then let go — a new folder is created with both notes inside.
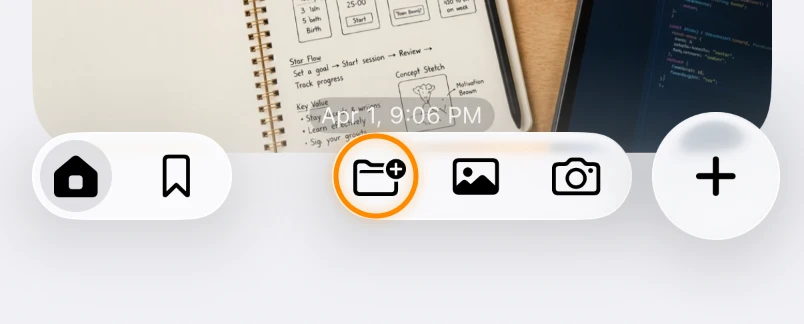
To make an empty folder first, use the add-folder button to the left of the “+”. You can leave the name blank.
Mac
Drag a card straight away (no long-press needed), hold it over another note for a moment, then release to make a folder.
To make an empty folder, click “New Folder” at the bottom right or press ⇧⌘N. You can leave the name blank.
Change a folder’s color or icon Partly Pro
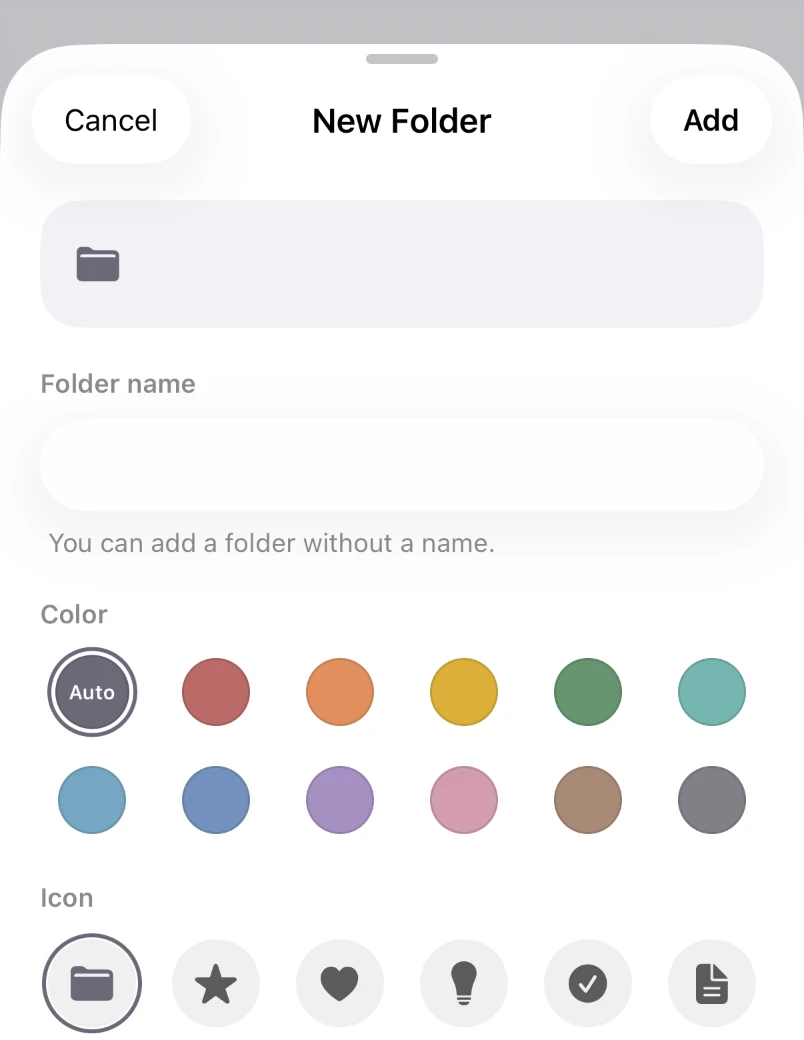
Pick a color and an icon on the screen where you create the folder. To change them later on iPhone, open the folder, tap its name at the top, and use “Edit Folder”.
Some colors and icons are free; the rest come with Nokosu Pro.
Create folders inside folders Pro
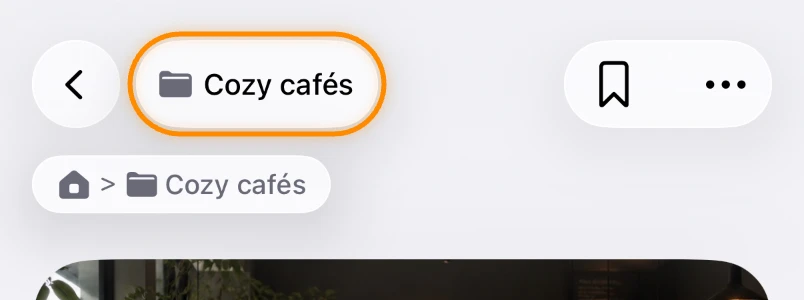
Inside a folder, stacking notes or the add-folder button creates another folder, nested as deep as you like.
Creating folders from the second level down is a Nokosu Pro feature. Folders you already have stay viewable and editable without Pro.
Reorder and move items
iPhone
Long-press a card to pick it up. Move it up or down to reorder, or drop it on a folder to move it inside.
Hold it over a folder for a while and the folder opens, so you can carry it deeper. Hold it over the back button to go up one level.
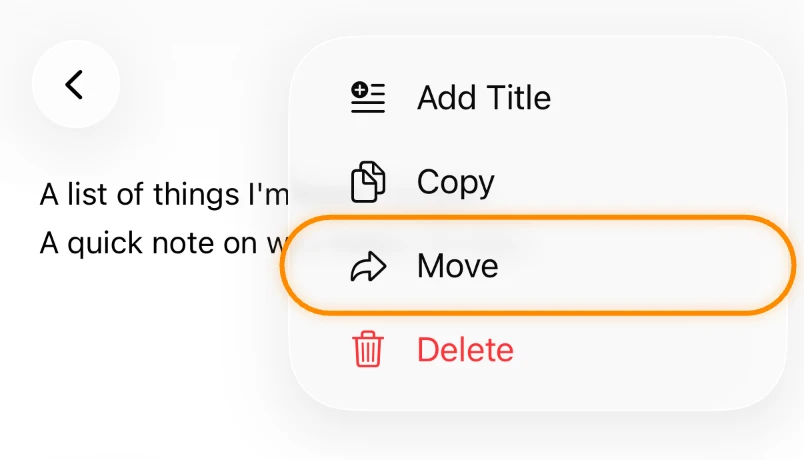
Besides dragging, you can also use “Move” under ⋯ in an open note.
Mac
No long-press needed — just drag the card. Reordering, dropping on a folder, and holding over a folder to go inside work the same as on iPhone.
You can also right-click and choose “Move”.
Bookmark notes you come back to
iPhone
Swipe a card left and tap the bookmark button, or tap the bookmark button at the top right of an open note.
See all your bookmarks from the bookmark button at the bottom left, or from “Bookmarks” in the sidebar.

Mac
Right-click and choose “Add to Bookmarks”, swipe left with two fingers, use the button at the top right of an open note, or press ⌘D.
See them all from “Bookmarks” in the sidebar.
Find a note
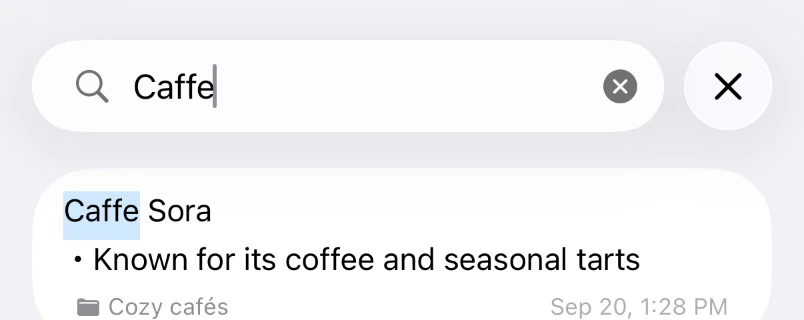
Search from the magnifier at the top right (on Mac, ⌘F works too). It looks through note text, titles, image captions, and folder names by partial match, ignoring upper and lower case.
Items in the Locked Folder don’t appear in search results.
Delete or move several items at once
iPhone
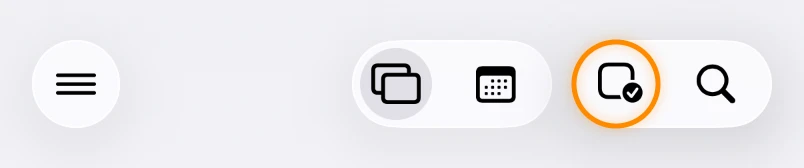
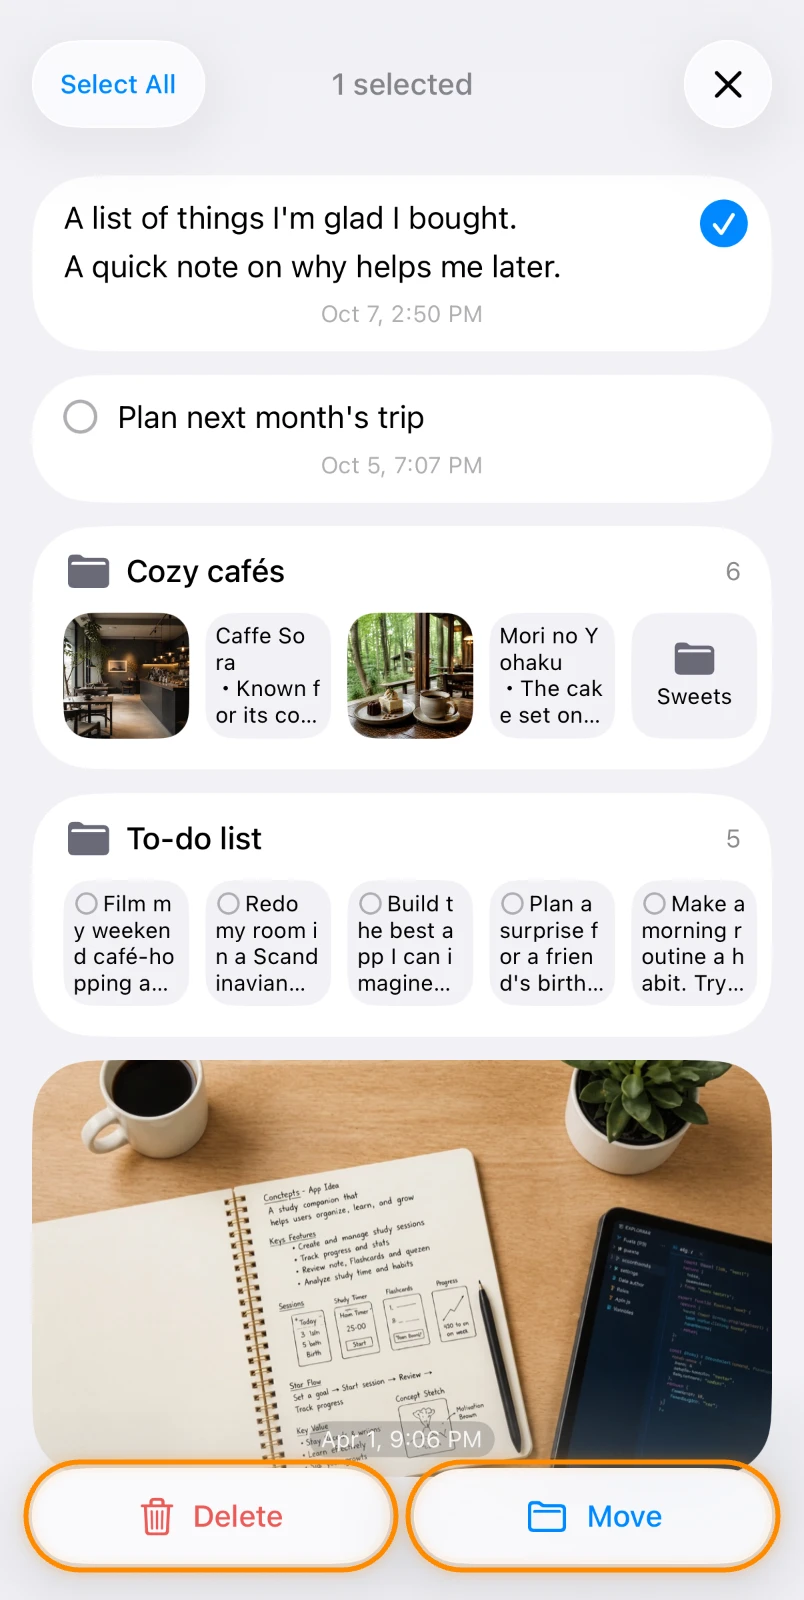
Enter selection mode with the checkmark button at the top right on Home, or “Select” under ⋯ inside a folder. Tap cards to select them (“Select All” is there too), then choose “Delete” or “Move” in the bar at the bottom.
Mac
Click “Select” at the top right to enter selection mode. You can also ⌘-click to pick items one by one or ⇧-click to select a range. ⌘A selects all, ⌫ deletes, and Esc clears the selection.
See notes, to-dos, and images by type Partly Pro
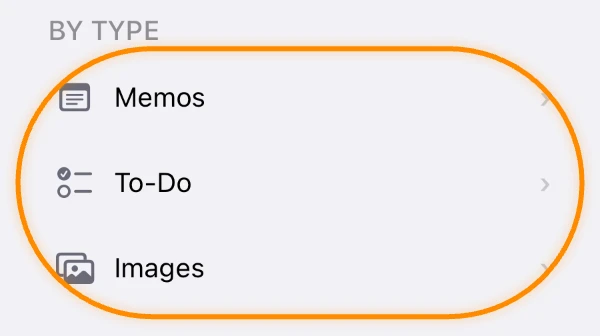
Use “Memos”, “To-Do”, and “Images” in the sidebar to see each type, newest first.
Without Pro, the Memos and Images pages show the last month. Seeing older items there requires Nokosu Pro (Home and the calendar always show everything, free).
Keep private notes out of sight Pro
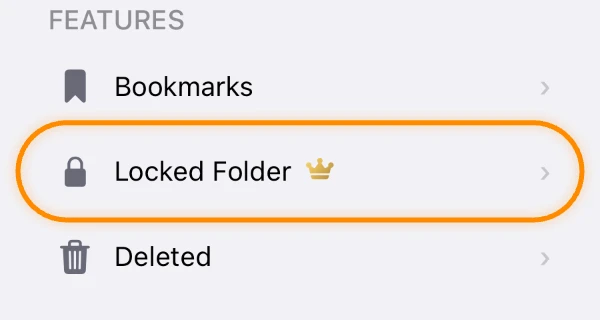
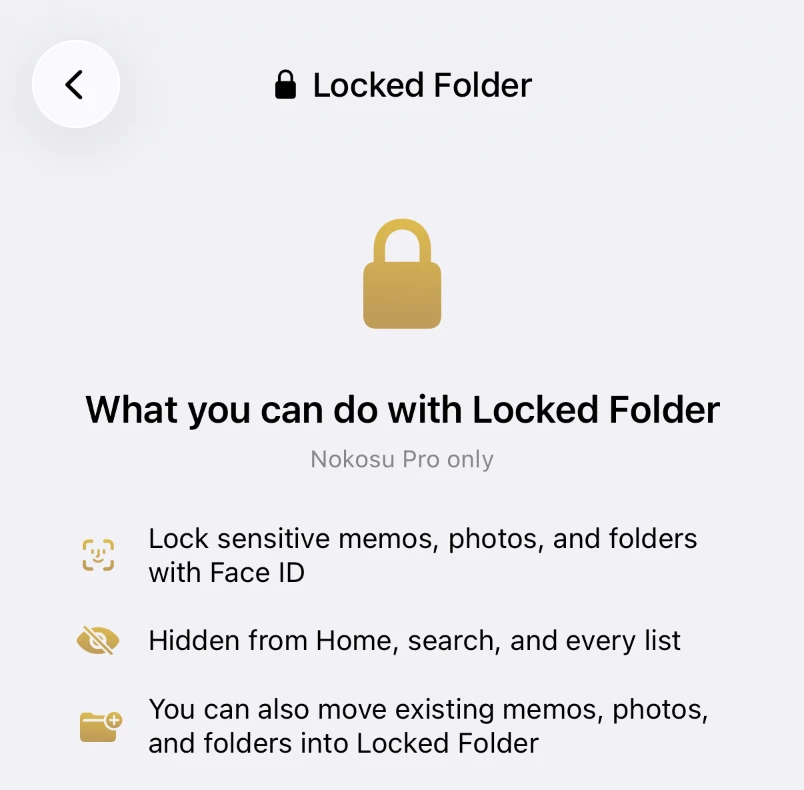
Notes and images you put in “Locked Folder” in the sidebar need authentication every time you open it, and they don’t appear on Home or in search. It locks again as soon as you leave it.
To put something in, choose “Locked Folder” as the destination in “Move”, or open the Locked Folder and add items inside it.
On iPhone it opens with Face ID or your passcode (a device passcode must be set); on Mac, with Touch ID or your Mac login password; on Android, with biometrics (or your screen lock PIN or similar when biometrics aren’t available; a screen lock must be set).
Locked Folder is a Nokosu Pro feature. Its contents are never deleted if Pro ends.
Deleting and restoring
Restore something you deleted
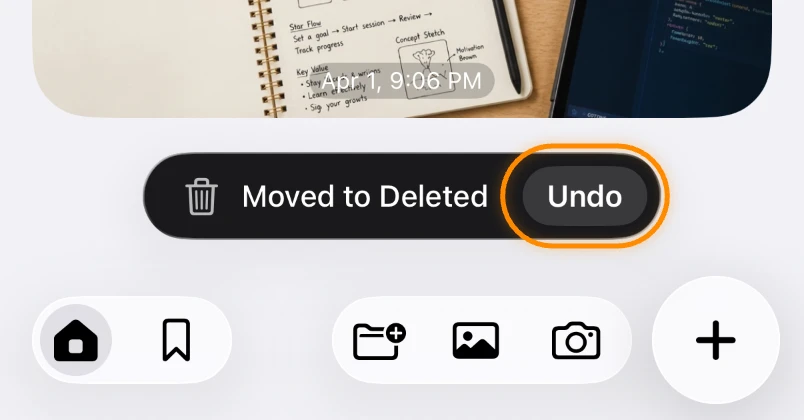
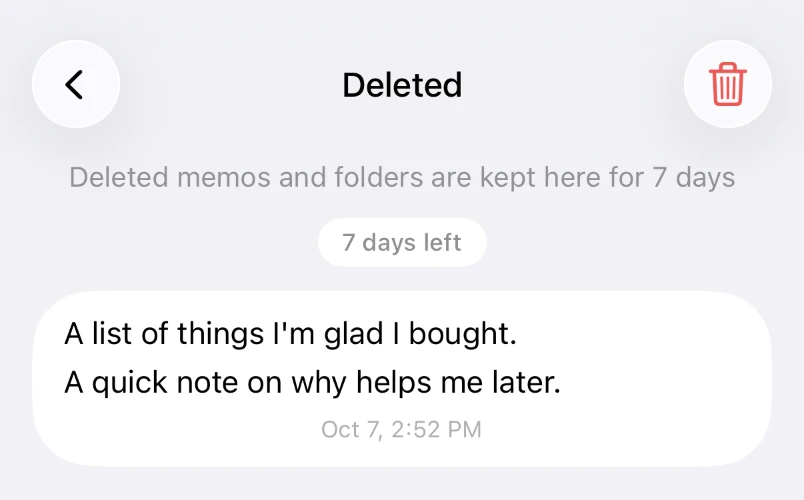
Deleted notes and folders are kept in “Deleted” for 7 days, then removed permanently.
Right after deleting, tap “Undo” on the message that appears to put it straight back where it was.
To restore later, open “Deleted” in the sidebar, swipe an item left (on Mac, right-click or swipe left with two fingers), and choose “Restore”. Restored items go back to the top of Home. Choose “Delete” to remove an item permanently right away.
An empty folder with no name isn’t kept in Deleted — it’s removed right away.
Customizing
Change the look (themes) Partly Pro
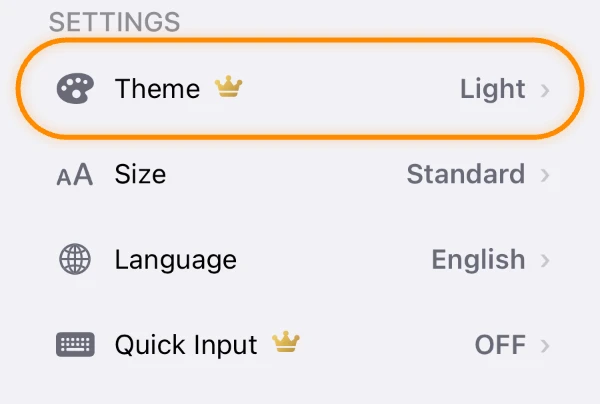
In “Theme” in the sidebar, choose from five themes: Light, Dark, Beige, Navy, and White (on Mac, also from “Theme” in the View menu).
Light is free. The other four come with Nokosu Pro.
The theme is set per device and doesn’t sync between iPhone and Mac.
Change the text size
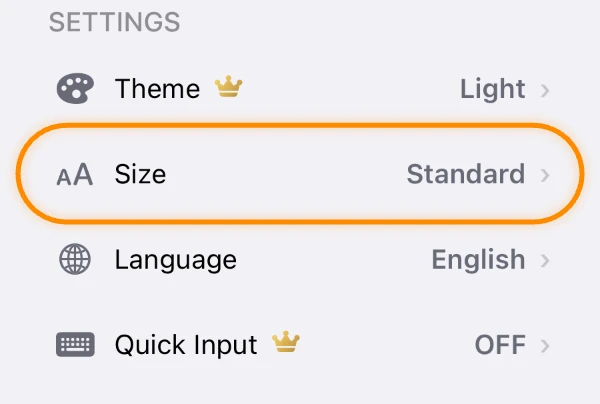
In “Size” in the sidebar, choose from five levels: Extra Small, Small, Standard, Large, and Extra Large (free). It’s set per device.
Change the app’s language
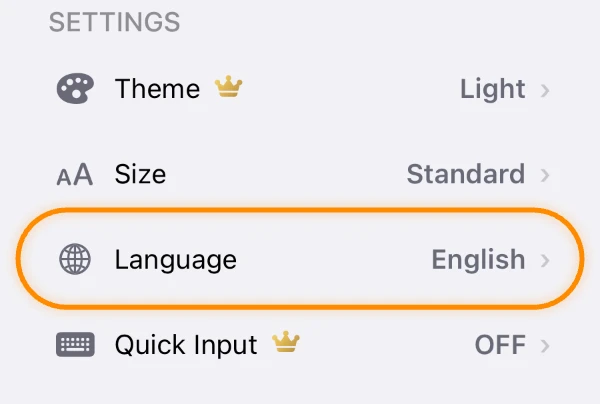
In “Language” in the sidebar, choose from 日本語, English, 繁體中文, 한국어, Deutsch, Français, Español, Português (Brasil), and Italiano, or follow your device setting. The app asks you to restart after you change it.
Start typing the moment the app opens iPhone & Android Pro
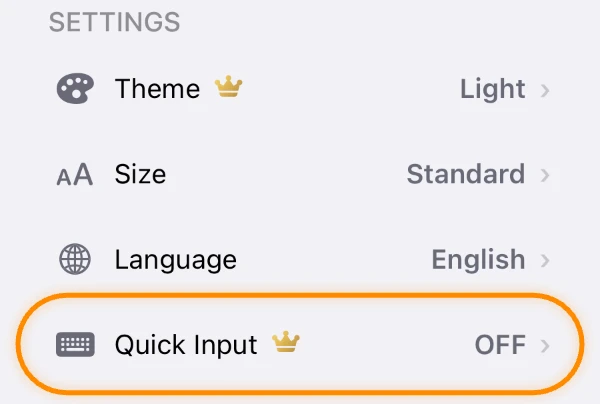
Turn on “Quick Input” in the sidebar and the keyboard opens automatically when you launch the app, so you can start writing right away.
Quick Input is a Nokosu Pro feature on iPhone and Android.
Write from the Lock Screen or Control Center iPhone Pro
Use the Lock Screen widgets (“New Note” and “Add Photo”) or the Control Center control to jump straight into Nokosu and write. You can also assign the control to the Action button.
Both are Nokosu Pro features on iPhone.
Write from the Home screen Android Pro
Put Nokosu’s widgets (“New Note” and “Add Photo”) on your Home screen, then tap one to start a new note or take a photo and add it right away. Add them from your Home screen’s widget list.
Opening Nokosu from the widgets is a Nokosu Pro feature on Android.
Sync and moving devices
Sync between iPhone and Mac
iPhone & Mac
Your notes sync automatically between an iPhone and a Mac signed in to iCloud with the same Apple Account. No setup needed, and it’s free. Without iCloud, notes are saved on that device only.
Notes, to-dos, images, folders, bookmarks, and the contents of the Locked Folder sync. Theme, size, and language are set per device and don’t sync.
The sync status appears at the bottom of the sidebar (for example, “Syncing with iCloud…”).
If changes are slow to show up, pull down on Home on iPhone, or pull down at the top of the list with the trackpad on Mac, to fetch them right away. Low Power Mode or Low Data Mode can delay or pause syncing.
Android
The Android app has no sync. Your notes are saved on that device only and don’t sync with iPhone or Mac either.
To move them to another device, use a backup as described in “Move your data to a new device”.
Use Nokosu on a Mac
iPhone & Mac
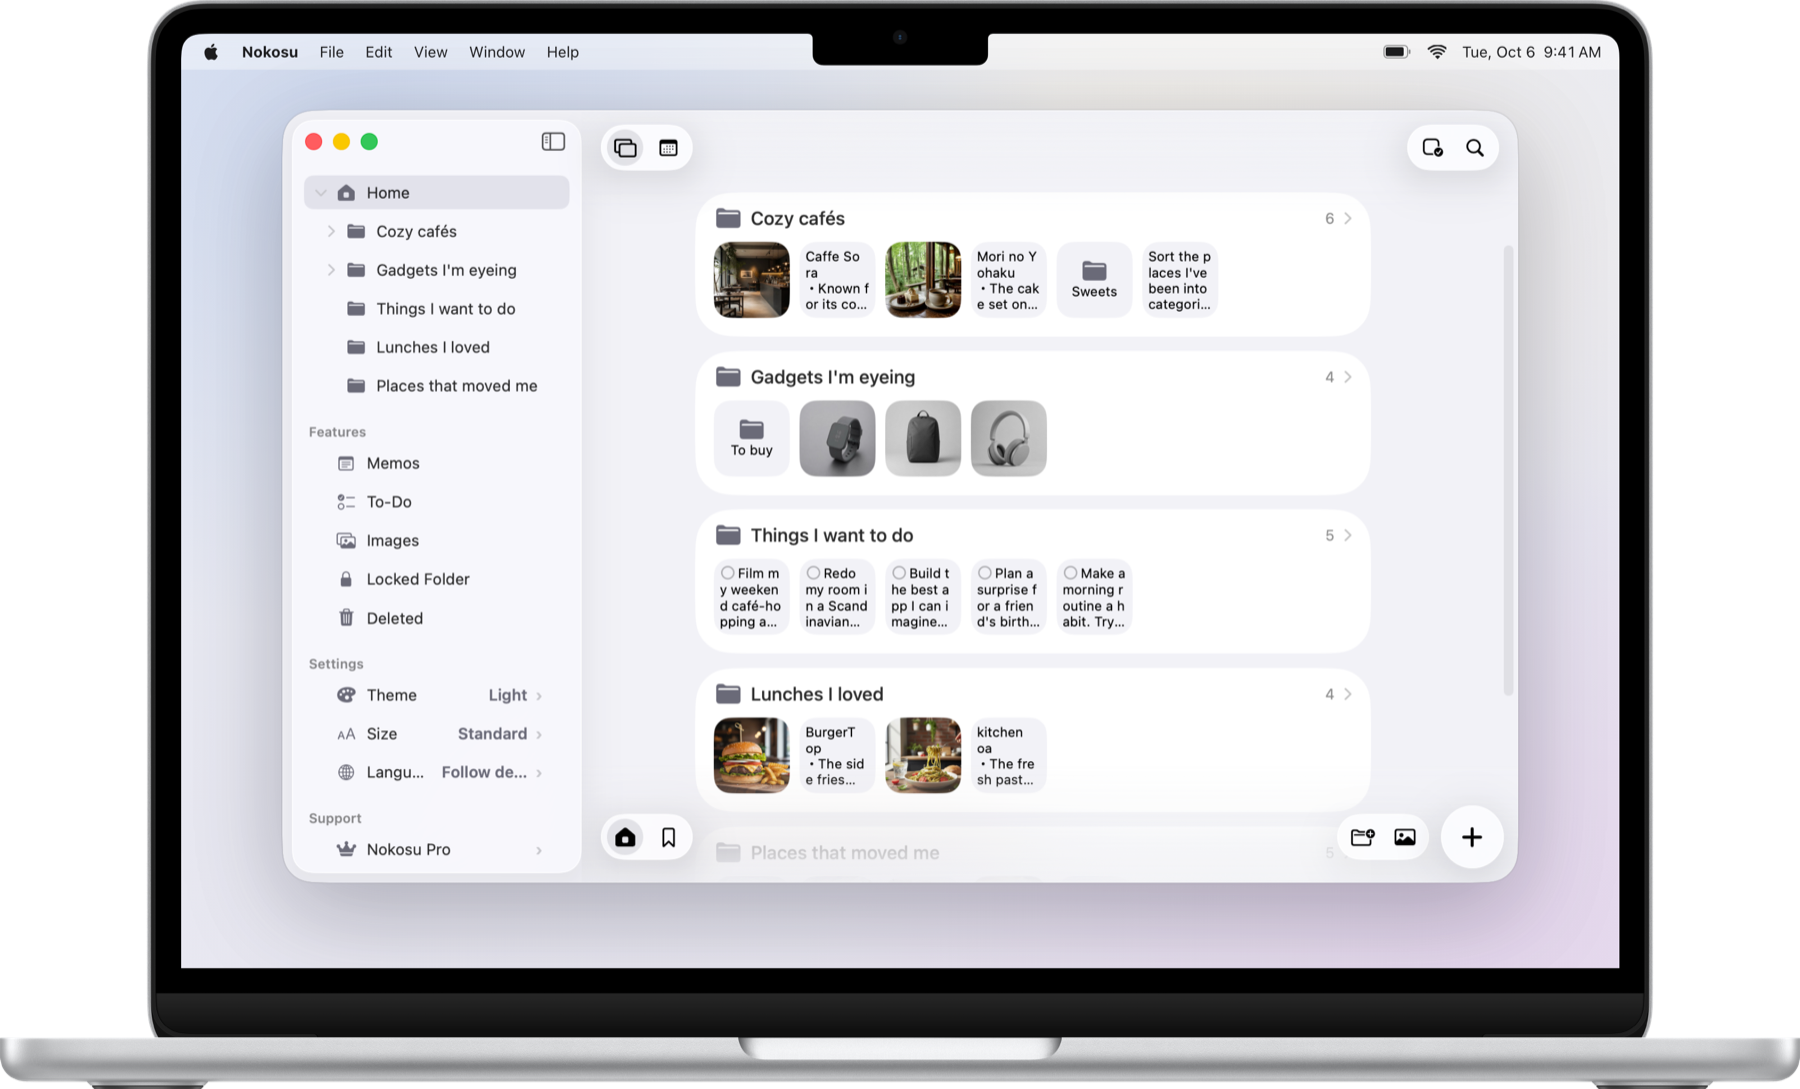
Nokosu for Mac is a free download on the Mac App Store (macOS 26 or later).
Sign in to iCloud with the same Apple Account as your iPhone, and your iPhone notes sync to the Mac as they are.
Nokosu Pro you subscribed to on iPhone works on a Mac with the same Apple Account too — no extra purchase needed.
Android
The Android app doesn’t sync with a Mac (it has no sync).
Nokosu Pro subscribed to on Android can’t be used in the Mac app.
Use Nokosu on Android
Nokosu for Android is a free download on Google Play (Android 8.0 or later).
The Android app has no sync feature, so your notes don’t sync with iPhone or Mac; they’re saved on that device only. Data also can’t be moved between Android and iPhone or Mac.
Nokosu Pro on iPhone and Mac and Nokosu Pro on Android are separate purchases and don’t carry over between them.
Move your data to a new device
iPhone & Mac
On the new device, sign in to iCloud with the same Apple Account and install Nokosu. Your notes come back from iCloud automatically.
Between iPhones, iOS Quick Start or restoring from an iCloud backup carries your data over as well.
Android
Between Android devices, use the app’s “Backup”. On the old device, choose “Backup” → “Export” in the sidebar to save your memos, folders, images, and settings as a ZIP file.
Install Nokosu on the new device, then choose “Backup” → “Import” and select that file. Your existing memos are kept, and duplicates are skipped.
Nokosu’s data isn’t included in Android’s automatic backup (Google Drive). Uninstalling the app deletes the data too, so export it before you switch devices.
Data can’t be moved between Android and iPhone or Mac.
Nokosu Pro
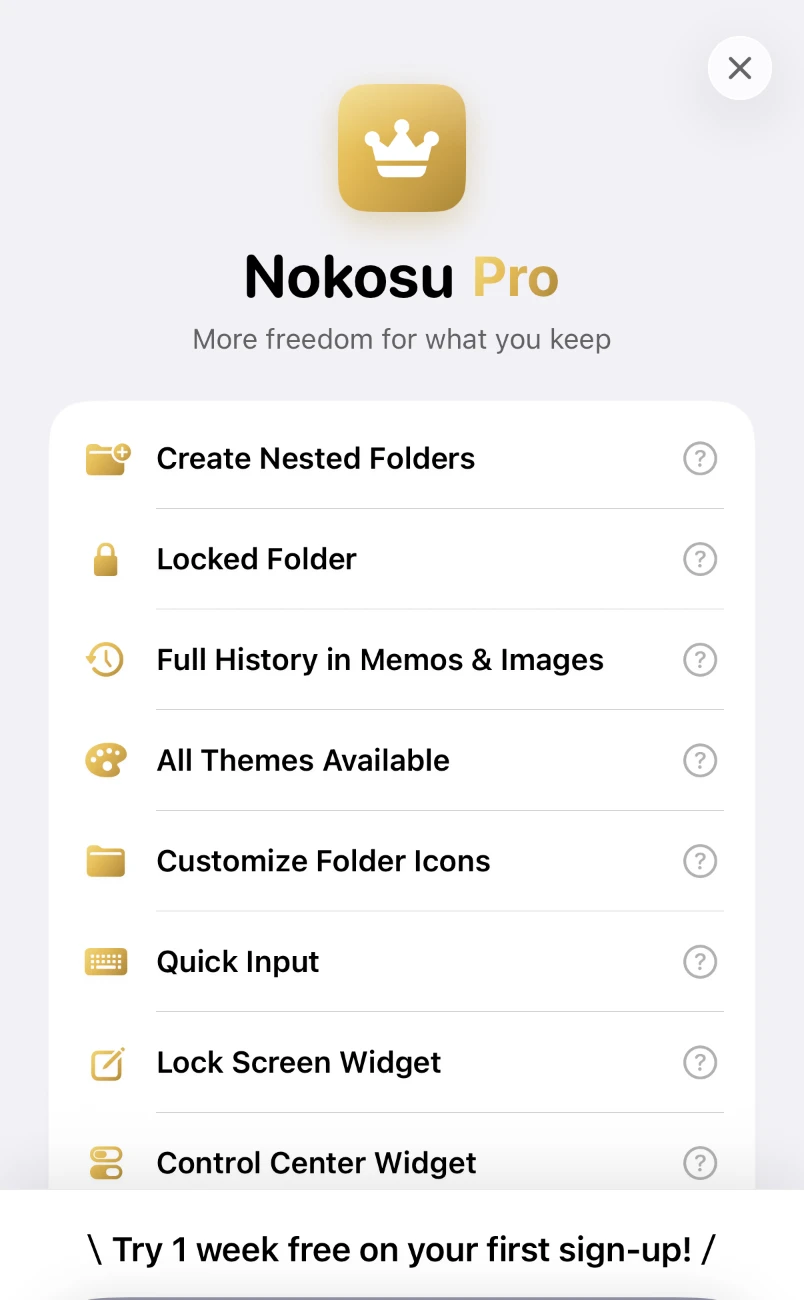
What Nokosu Pro unlocks
Nokosu Pro is a monthly subscription (¥350/month in Japan; the App Store or Google Play shows the price for your region). First-time subscribers get a 7-day free trial.
Pro unlocks: folders from the second level down / Locked Folder / full history on the Memos and Images pages / all themes / custom folder colors and icons / Quick Input (iPhone, Android) / Lock Screen widgets (iPhone) / Control Center widget (iPhone) / Home Screen widgets (Android) / saving captured photos to Photos (iPhone, Android).
Notes, to-dos, photos, folders, bookmarks, search, Deleted, the calendar, and iCloud sync (iPhone and Mac) are all free.
Nokosu Pro on iPhone and Mac and Nokosu Pro on Android are separate purchases and don’t carry over between them.
Cancel Nokosu Pro
iPhone
On the Nokosu Pro screen (“Nokosu Pro” in the sidebar), tap “here” in “You can cancel anytime here.” to open Apple’s subscription management and cancel.
You can also cancel from the iPhone Settings app → your Apple Account (at the top) → Subscriptions → Nokosu Pro.
Cancelling never deletes your notes or other data. You keep Pro until the current period ends; after that, the theme goes back to Light.

Mac
Pro is a subscription on your Apple Account, so you can cancel it from the Settings app on your iPhone. On a Mac, you can also manage it by opening apps.apple.com/account/subscriptions in your browser.
Android
On the Nokosu Pro screen, tap “here” in “You can cancel anytime here.” to open the Google Play subscriptions page and cancel.
You can also open the Google Play subscriptions page (play.google.com/store/account/subscriptions), choose Nokosu Pro, and tap “Cancel subscription”. Uninstalling the app doesn’t cancel it.
Cancelling never deletes your notes or other data. You keep Pro until the current period ends; after that, the theme goes back to Light.
Restore a purchase
iPhone & Mac
If Pro isn’t showing, tap “Restore Purchases” at the bottom of the Nokosu Pro screen.
On your other devices with the same Apple Account (including a Mac), Pro is applied automatically.

Android
If Pro isn’t showing, tap “Restore Purchases” on the Nokosu Pro screen.
On another Android device, tap “Restore Purchases” with the same Google account to apply Pro there too. Pro subscribed to on iPhone or Mac can’t be restored in the Android app.
Still stuck?
If none of the above resolves it, please use the contact form — we're happy to hear from you.